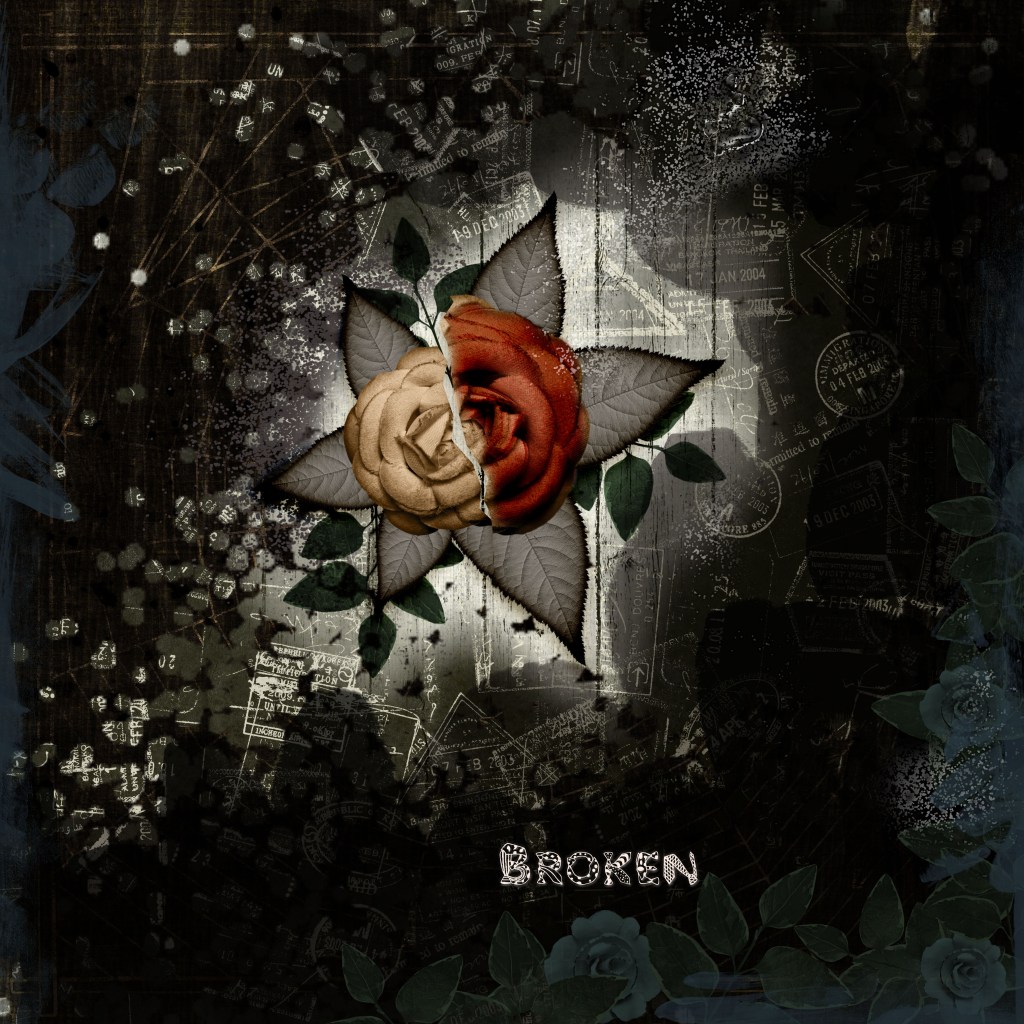
I like to try different blending effects that give images various optical illusions. In this instance I made a rose appear broken.

I started out opening up a new print, 12″ x 12″ file in Adobe Photoshop CC 2020. Under “Preset Details” I set the resolution to 300 pixels /inch, the “Color Mode” to RGB color 8 bit, “Background Contents” White, and Color Profile to, “Working RGB: sRGB IEC61966-2.1, with a Pixel aspect ratio set to “Square Pixels.”
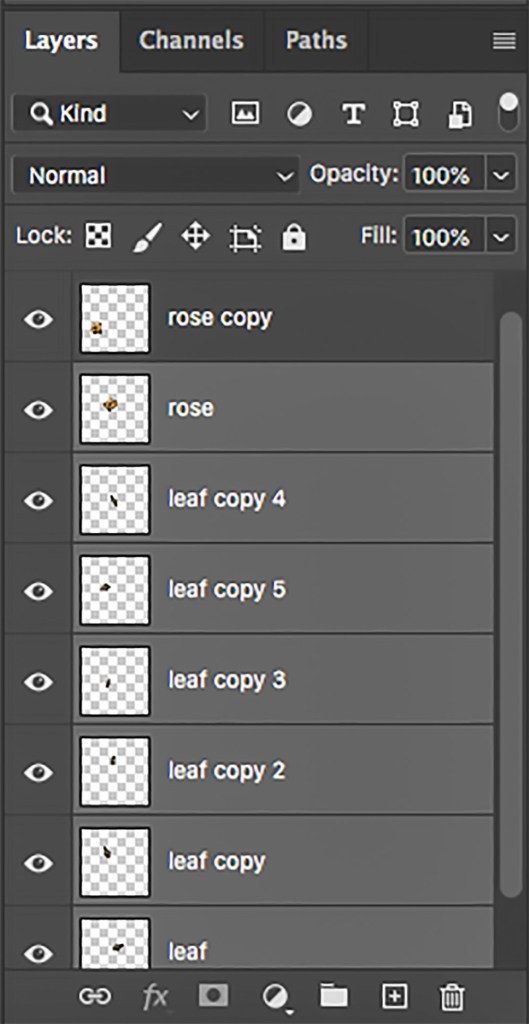
Next I added the images to manipulate. I made multiple copies of the leaves and rose.

This image is of is rose and leaf to manipulate 
These are multiples of each image
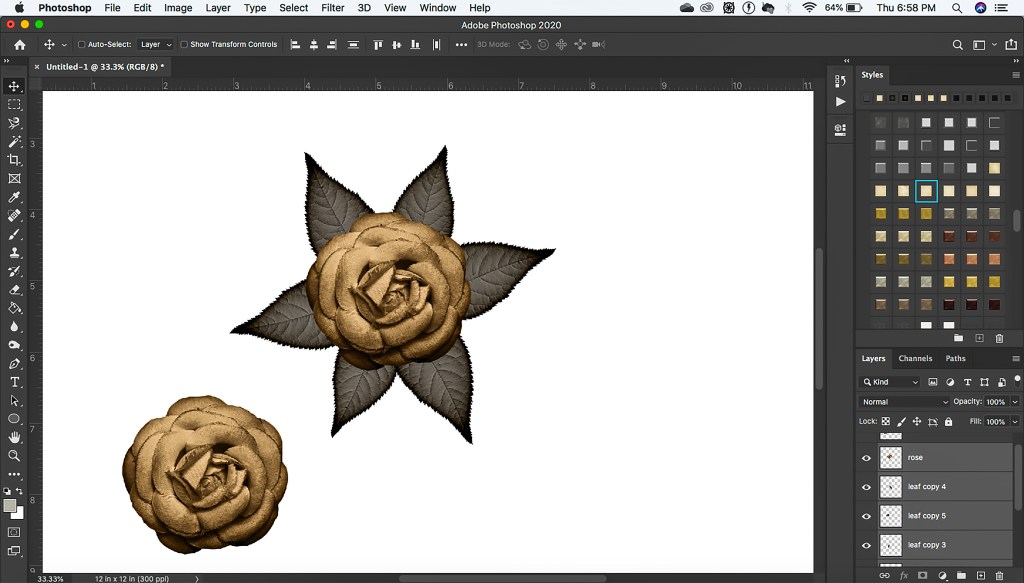
I then highlighted all the leaves layers and one rose layer and merged them together into one unit, leaving a single rose separate.


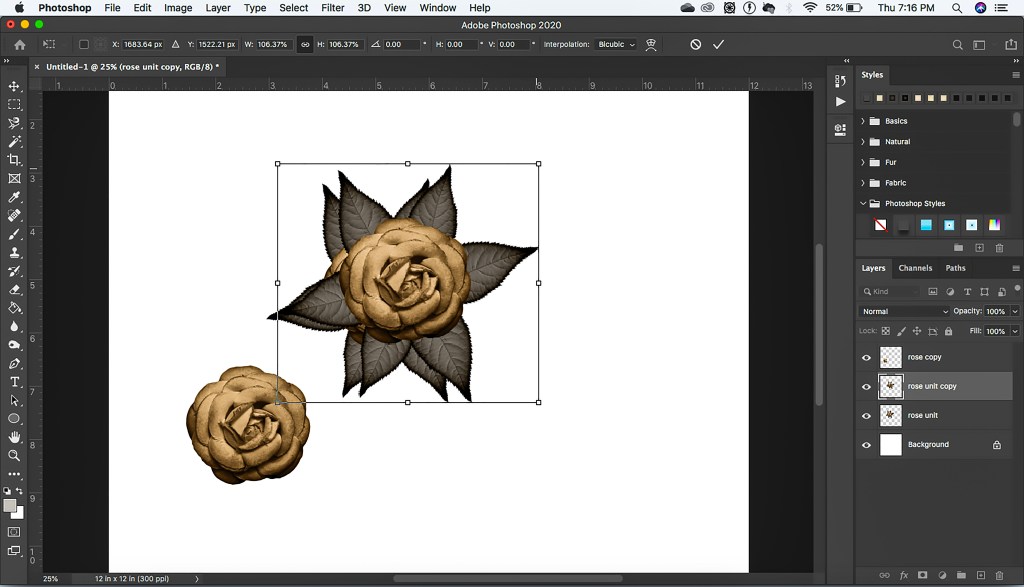
I then duplicated the flower leaf unit. I clicked on the copied layer and enlarged it by using the keyboard shortcut, “Command + T” or CRTL + T on a PC . I placed my pointer on the handles until it changed to arrows. I then clicked and dragged the image to a slightly larger size.

I clicked on the pen tool and began making points in a crooked form vertically down the enlarged image. I went around the left and back to the top of the image at the starting point.

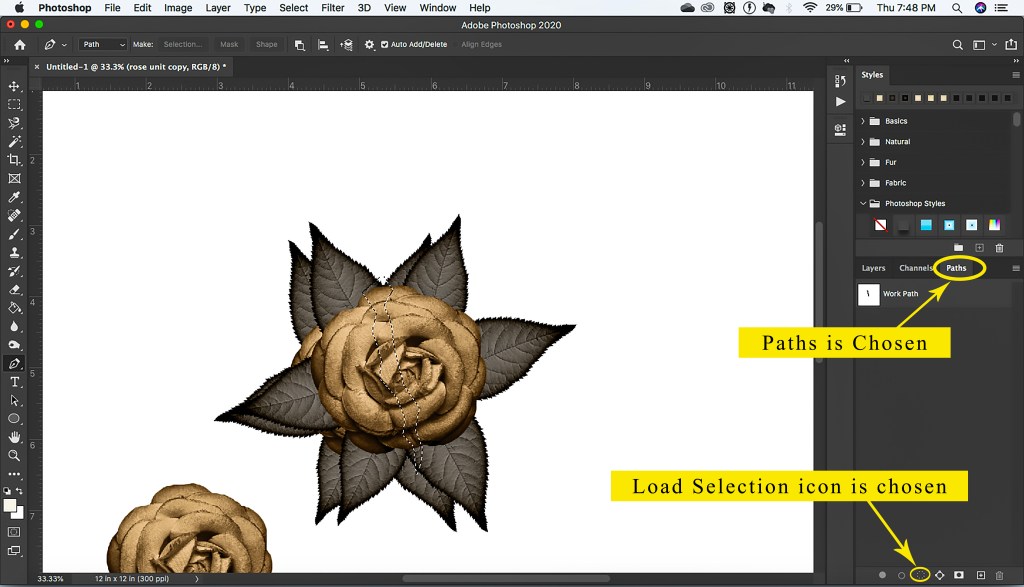
Once the points were connected, In the Layers Panel, I made sure that the “Paths” window was open and clicked on it. While in the Paths box I clicked on the “Load Selection” icon (dotted circle).
I clicked back to the “Layers” panel and clicked “delete”. Hint: If when you hit delete the the pixels surrounding the highlighted area are removed, then undo your last move. Go to the “Selection” menu and click “Select” then “Inverse”. This will keep the area inside the marching ants (dotted lines) highlighted instead of all the pixels outside of them. This action will delete the selection. With the same loaded selection highlighted, I clicked on the original layer beneath the copy layer and hit delete. The broken flower effect is now visible. I took it a step further and deleted half the top, enlarged image to really give the flower a noticeable “cracked” look.

I started adding background layers to complete the layout.

I took the single rose and added it over top the rose/leaf unit and enlarged it to the size of the bigger cracked half. I used the same path selection and deleted a portion of it. Once the crack was open, I deleted the left half of the rose, giving the unit a deeper 3-D effect.

Enlarged rose 
Loaded selection 
deleted selection and half of rose
I began adding shadows to each layer of the rose. I embellished the final image with some flowers, leaves, and a touch of various color blends. There are so many things you can do with all the Photoshop options available.

I hope this article was helpful. Happy crafting!
Disclaimer: Should you make a purchase from any of the above links I will receive a monetary percentage of the cost of your item(s). Thanks.

