I love to make journal pages and embellishments from digital media. I decided to create a really simple mini paper notebook. This little book of writing ephemera would look great in a mixed media album. To make it, all that was needed were a computer or laptop, some software that could open the digital files, and a printer to print the beautiful pages. Check out below how this easy project was produced.

Enjoy this latest freebie paper kit called “Grunge Run”. Click here to download. I used it to make a really simple mini notebook with it.


Supplies needed:
- Multimedia Crafts Digital Freebie “Grunge Run” paper kit.
- Embossing folders
- Die cutting machine (Sizzix sideKick, Bigshot, Vagabond, etc…)
- White Card stock
- Dies
- Notebook paper
- Scissors
- Paper trimmer
- Art glitter Glue
- Staples and staple gun
- Distress oxide inks -Inks (Tim Holtz Distress Oxide inks by Ranger):
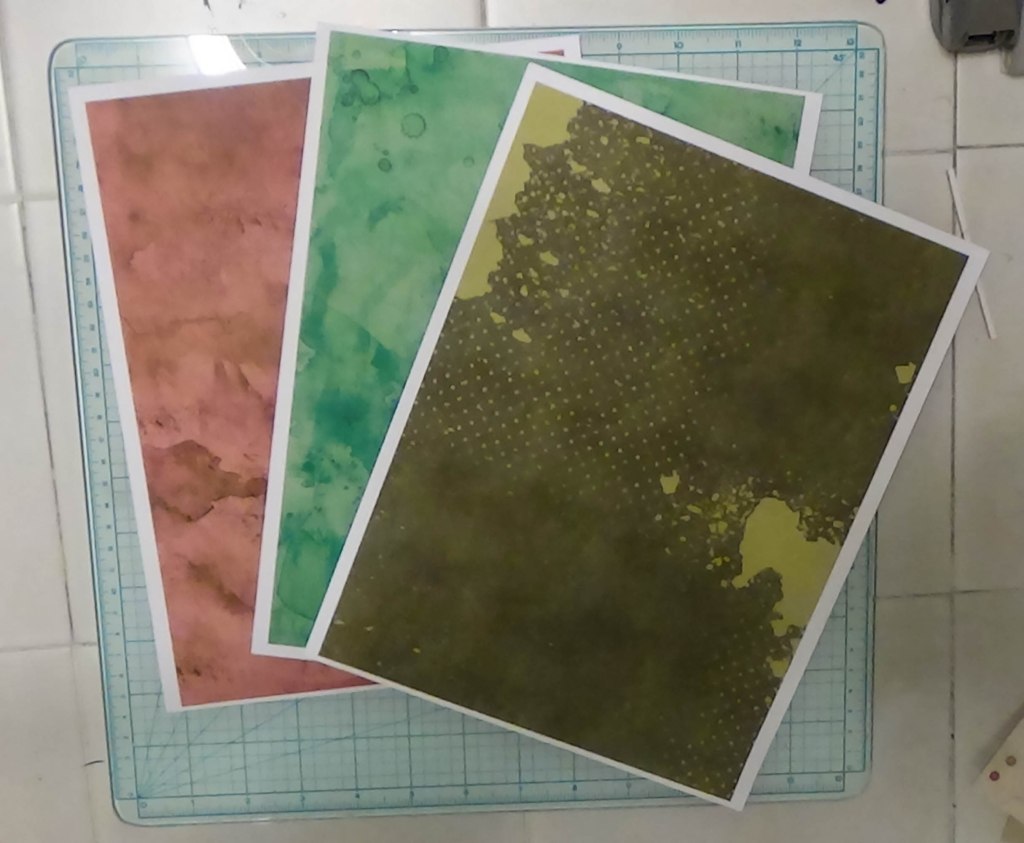
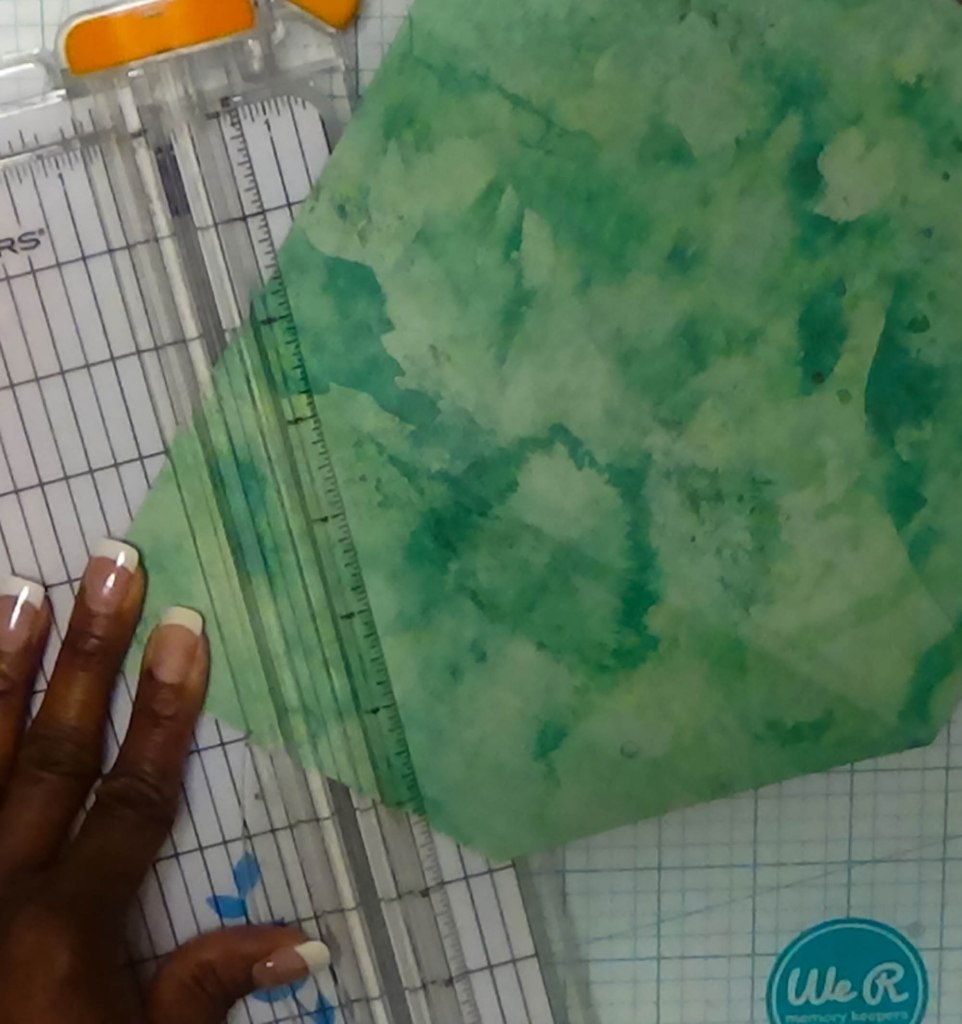
I first began by printing out the six pages of the Multimedia Crafts Digital, “Grunge Run” paper kit, double sided, leaving me with three papers. I trimmed off the white margins.

(This step can be eliminated if you print with the “bleed on” feature of your printer.) I distressed the edges of each paper, on both the front and back sides. The paper size after the margins were cut measured approximately 8″ x 10.75″.

I also printed out the “2 x 3 Card and envelope templates” from the Multimedia Crafts Digital etsy shop onto one of the grunge papers. I assembled it according to the provided instructions that came with the file.


Step by Step Process
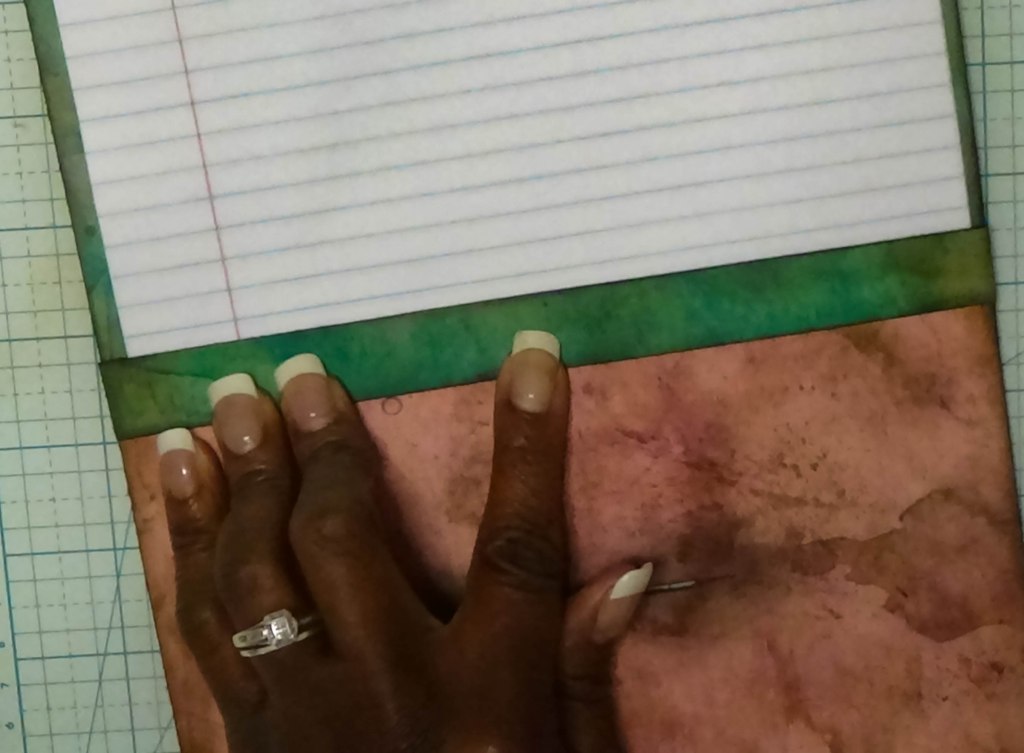
On the long side (10.75″ side) of any of the grunge papers, score a line at 1/2″, 7″, and at 7.25″. This creates a base, a bottom flap and a top flap. Next cut a piece of contrasting paper at 6″ x 7.75″.
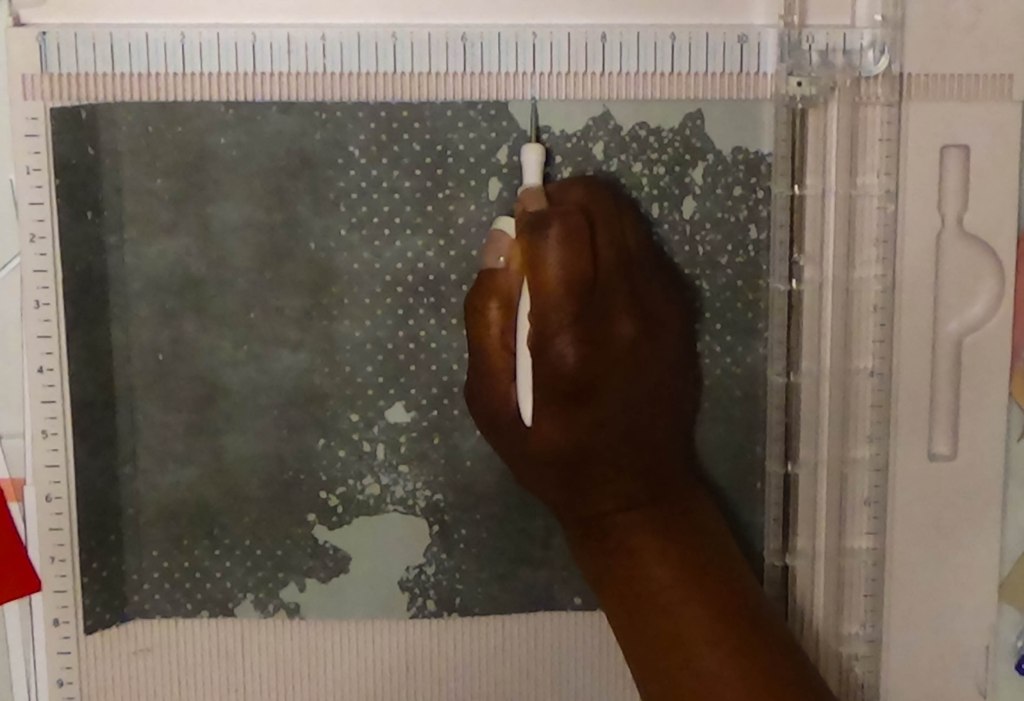
score a line at .5″, 7″, and at 7.25″ 
When folded, a base, bottom flap and a top flap are created 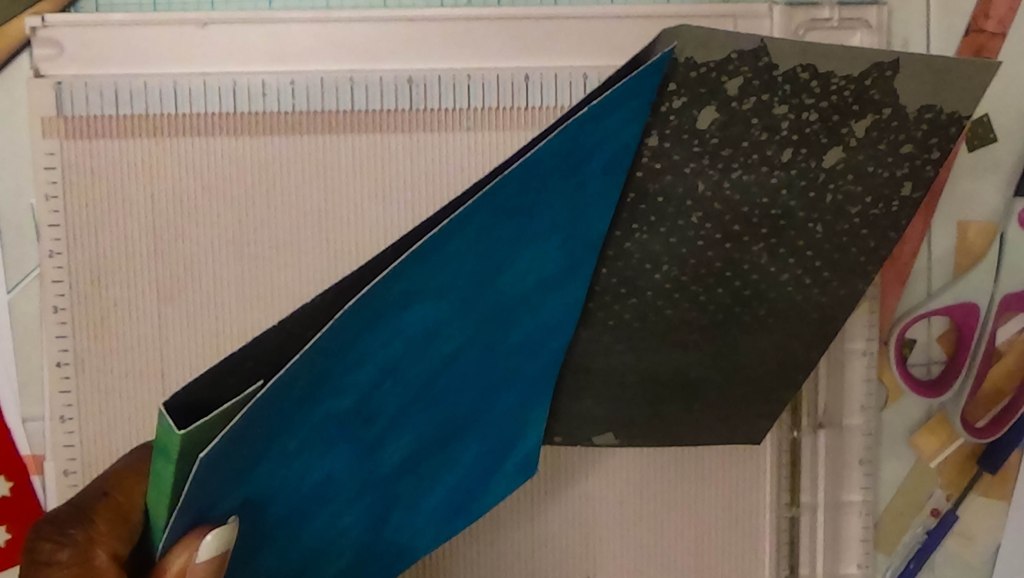
Cut a piece of contrasting paper at 6″ x 7.75″

Place a ruler on the flap. Find the center of the flap and take a pen to mark a spot that measures 1″ to the left and right of it. On my paper, the marks were placed at 3″ and at 5″.
Take scissors or paper trimmer and cut from those points to the corner of each side of flap.

align the mark on the flap to the corner edge of the flap on your paper trimmer, creating a diagonal shape and cut it out. 
cut flap now in a “v” shape
Place the 6″ piece of contrasting paper over top the base, underneath the flap. Press the flap down. Using a pen, mark on both sides of the top flap onto the 6″ paper, where a line will be drawn for a flap tuck area. Be sure to make the tuck area at least 1″ deep, therefore marking 1″ upward from the flap on to the 6″ paper. Then using the ruler for a straight edge, draw a line connecting the dots.
mark on both sides of the top flap where the tuck spot will go. 
connecting the dots

Next, take a ruler and a box cutter to trim out the line.

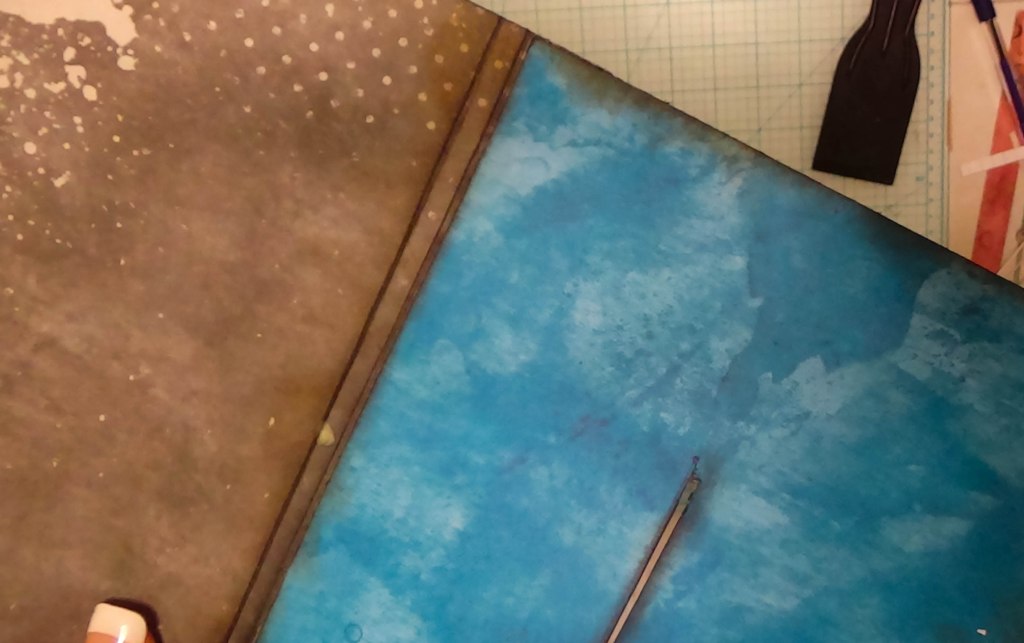
Distress the edges of the papers on both sides, including the flap closure. I typically use Tim Holtz Distress inks.

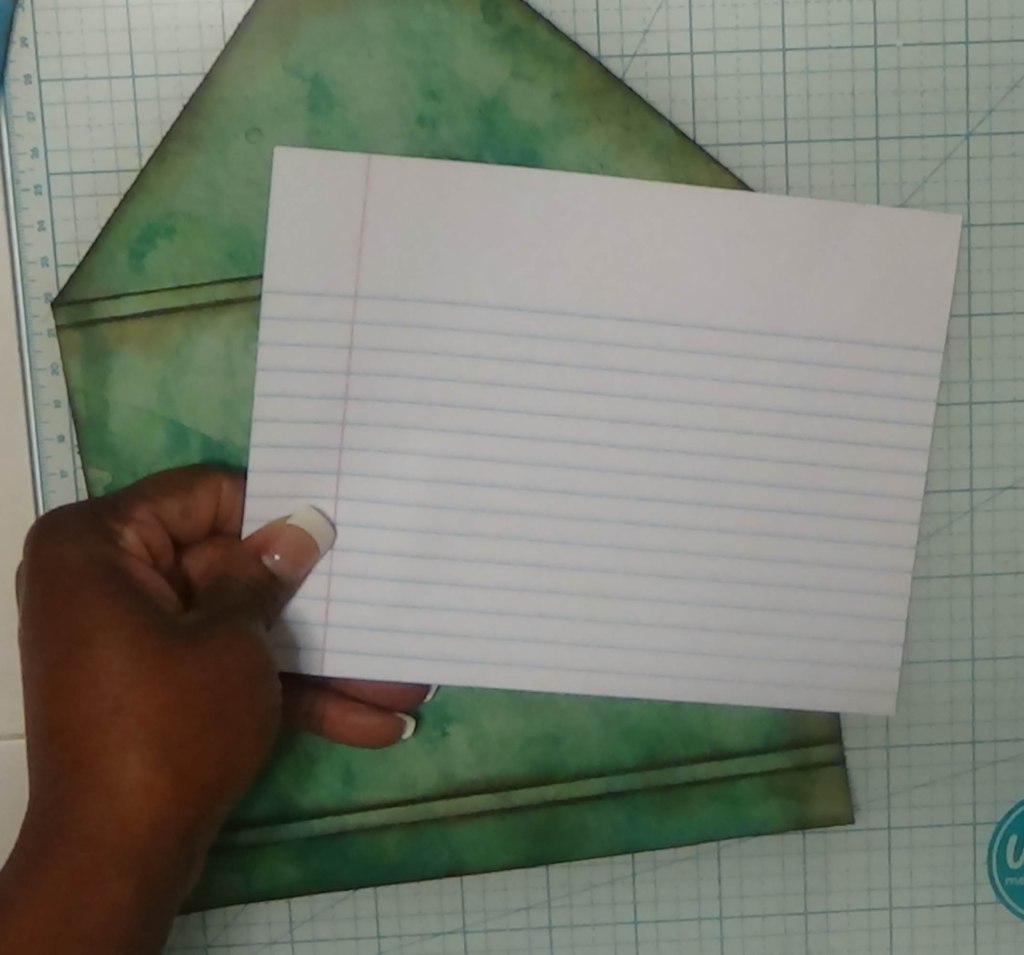
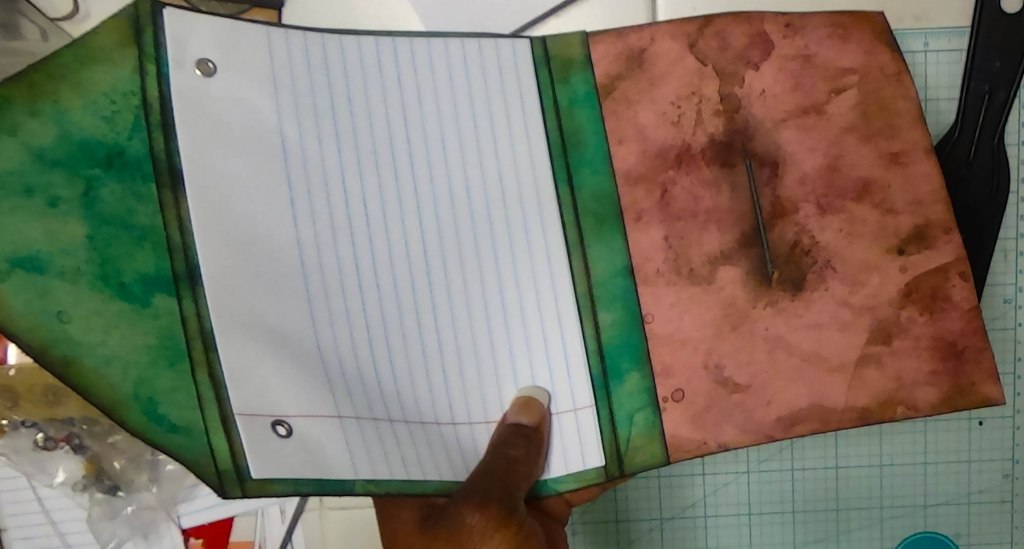
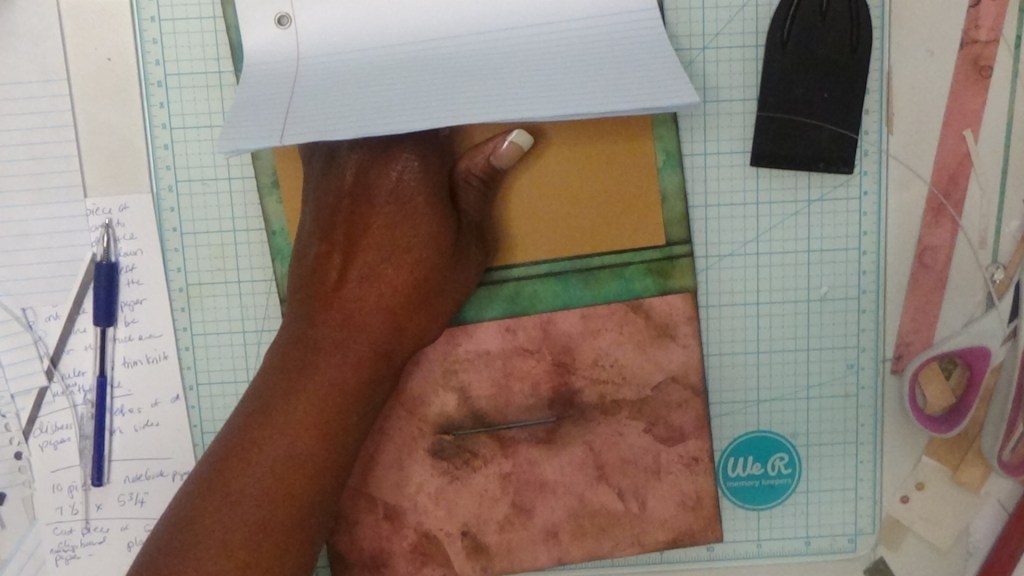
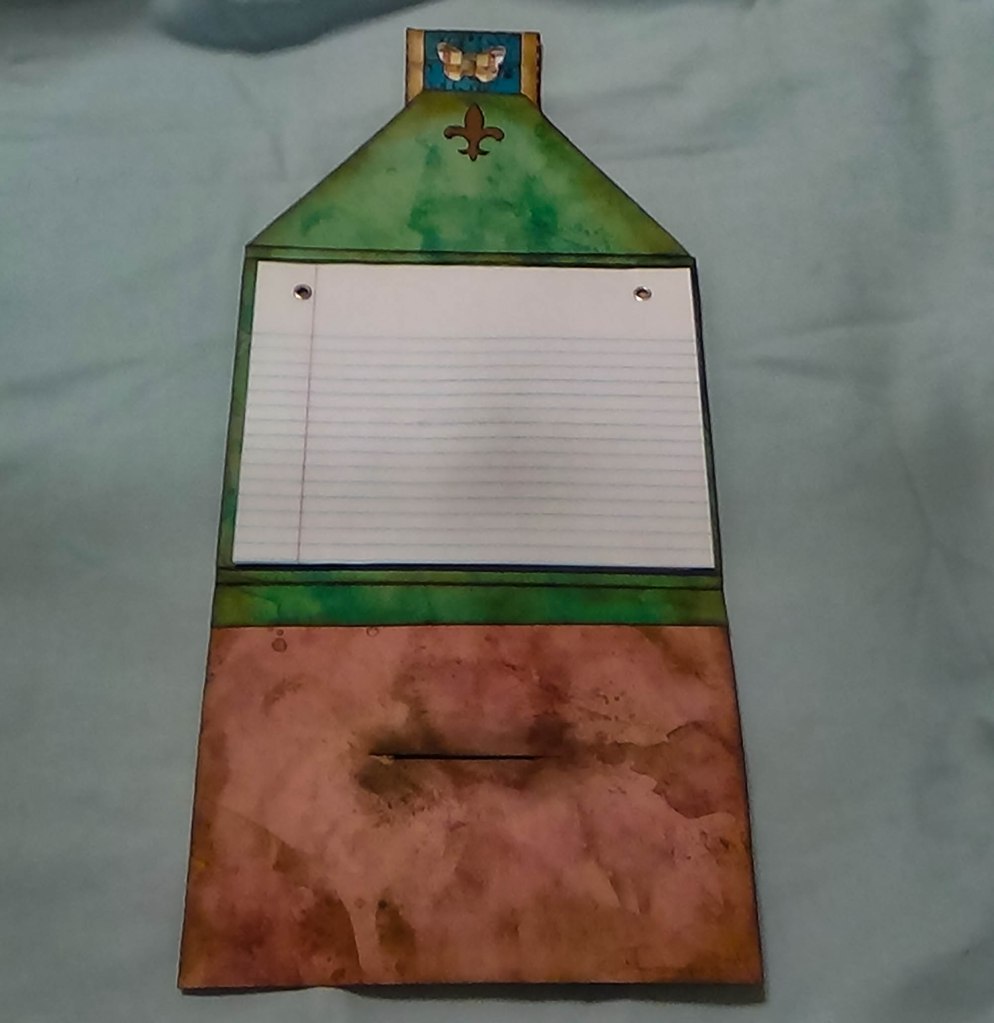
Next, remove about 10 sheets of college ruled notebook paper from its package. Cut them to about 7.5″ x 5.75″

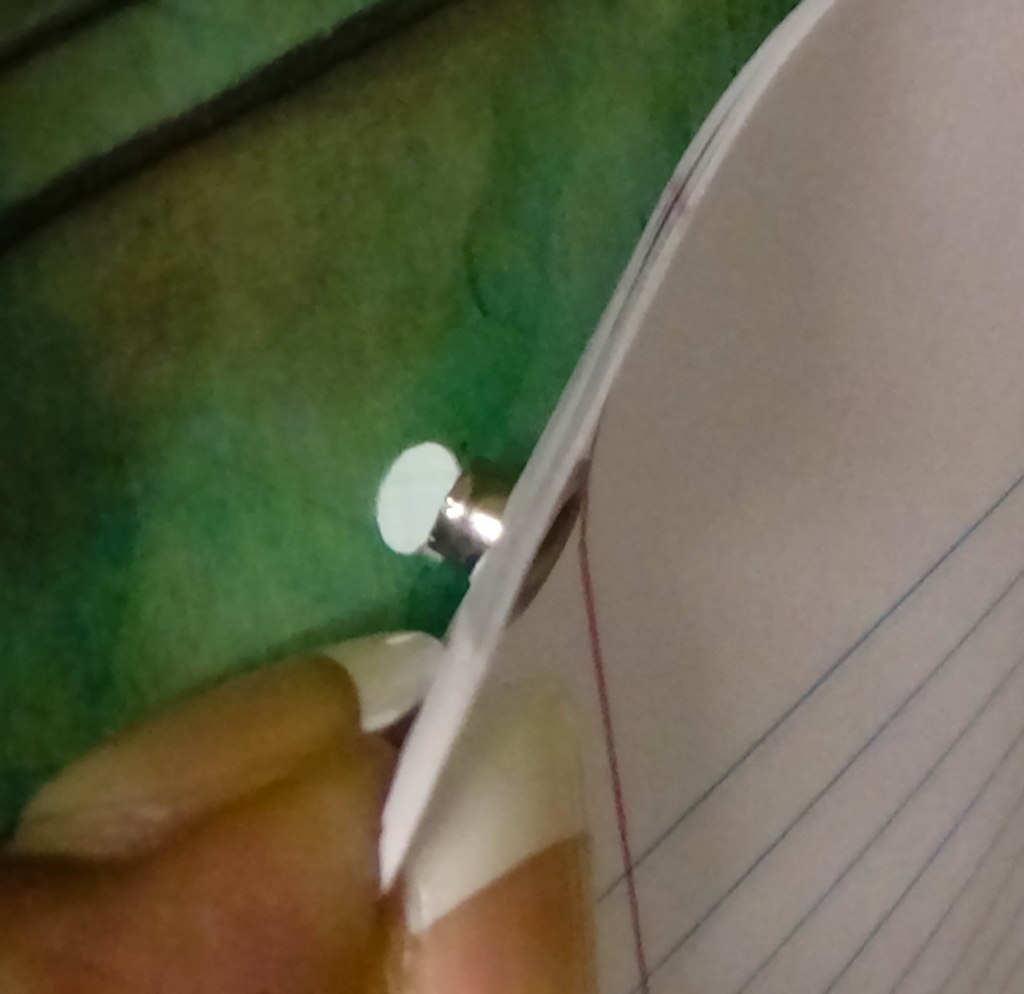
Align the notebook paper inside the base. Mark on your paper where you want to punch your holes to connect the paper to the base. Using a hole punch or a Crop-A-Dile tool, punch your holes and add your eyelets.


Once the notebook paper has been attached, add the 6″ contrasting cover to the bottom of the base flap. Fold in the bottom flap. Add some glue. Align the cover underneath the flap. Carefully lay down the glued flap onto to cover and seal.
I wanted to give the mini notebook some stability so I cut a piece of chipboard at 5″ x 7 and glued it behind the notebook paper onto the base. This made the folio more sturdy.
adding chipboard to base 
closed notebook with tucked in flap
Close the bottom cover upward and tuck in the top flap into the slit.

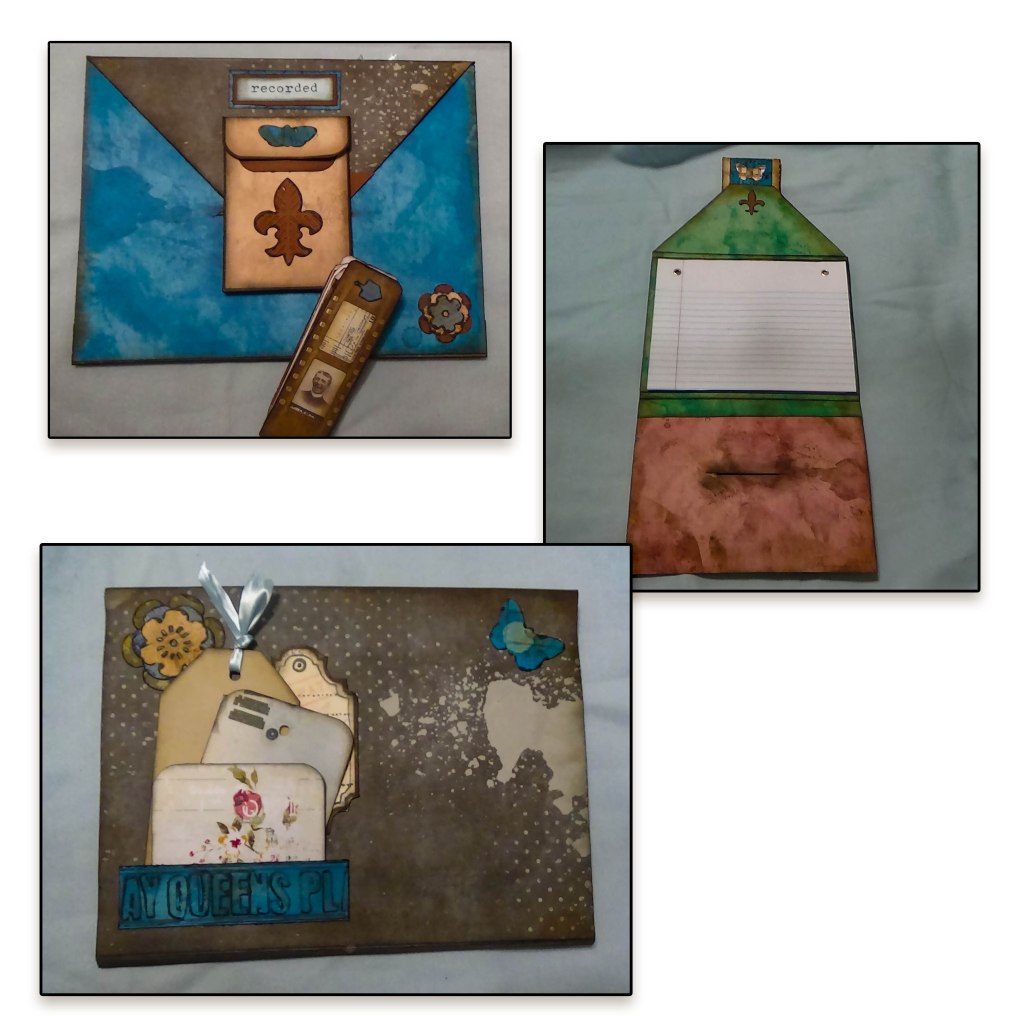
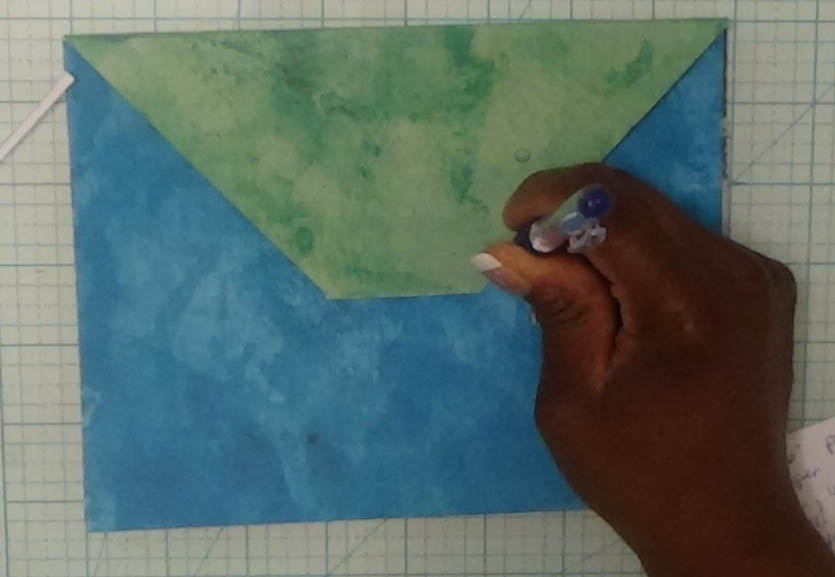
I wanted to make the flap more functionable. I therefore took the premade envelope and glued it to the flap, being careful not to obstruct the bottom end of the flap where it tucks inside the slit.
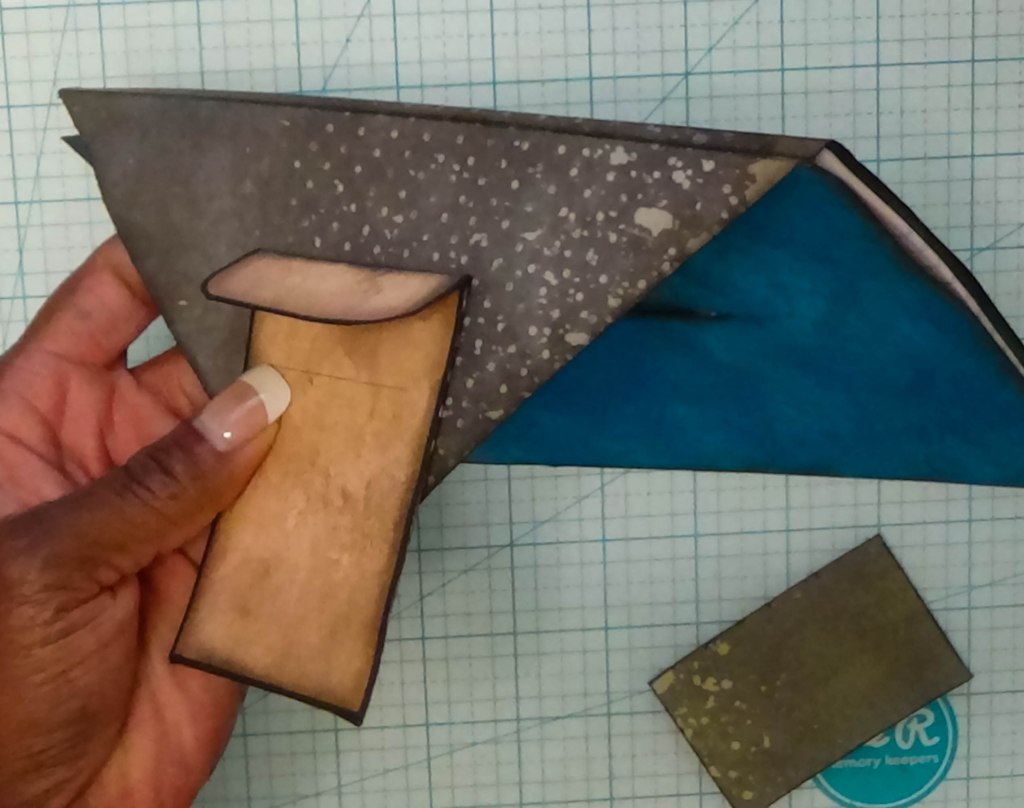
envelope added to flap

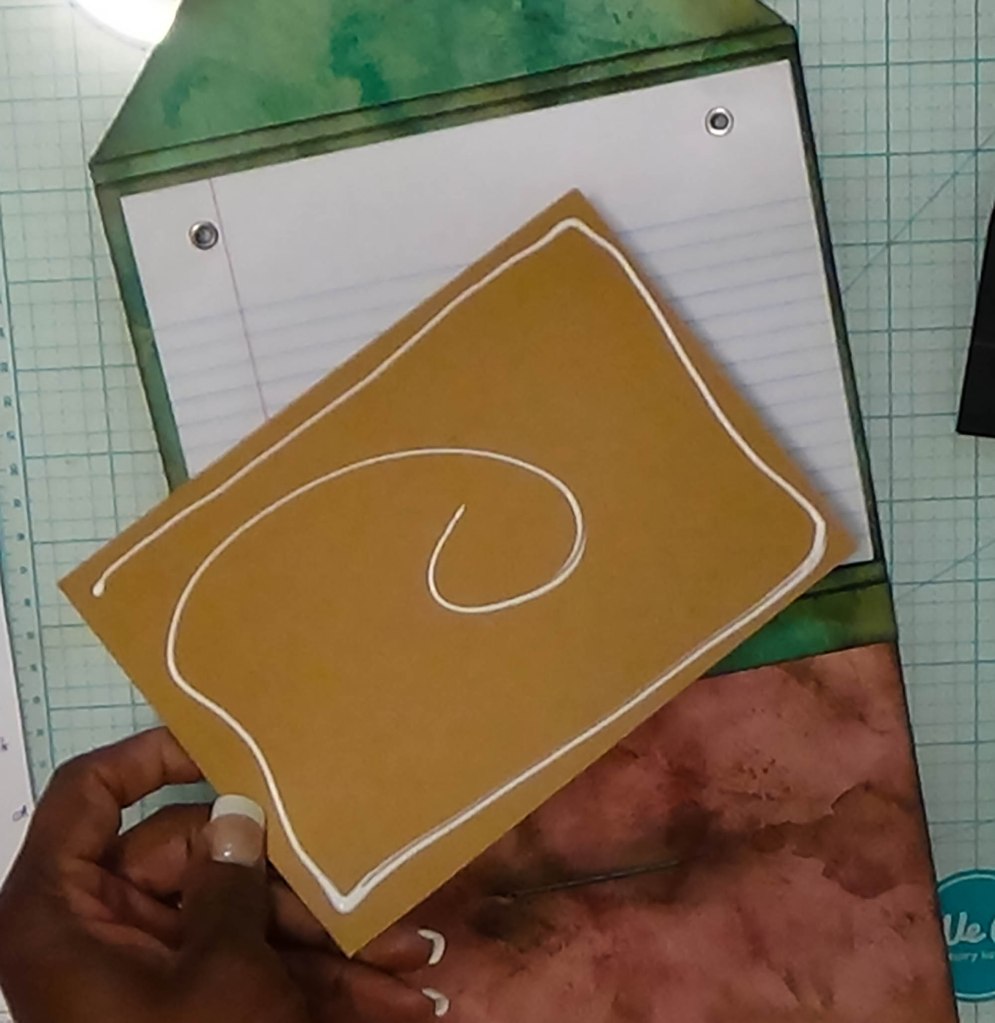
For the really fun part of the assembly, I ran some scrap papers through my embossing machine using various embossing folders to give the paper texture. I then die cut out some shapes and added them to the mini notebook. This completed the project.
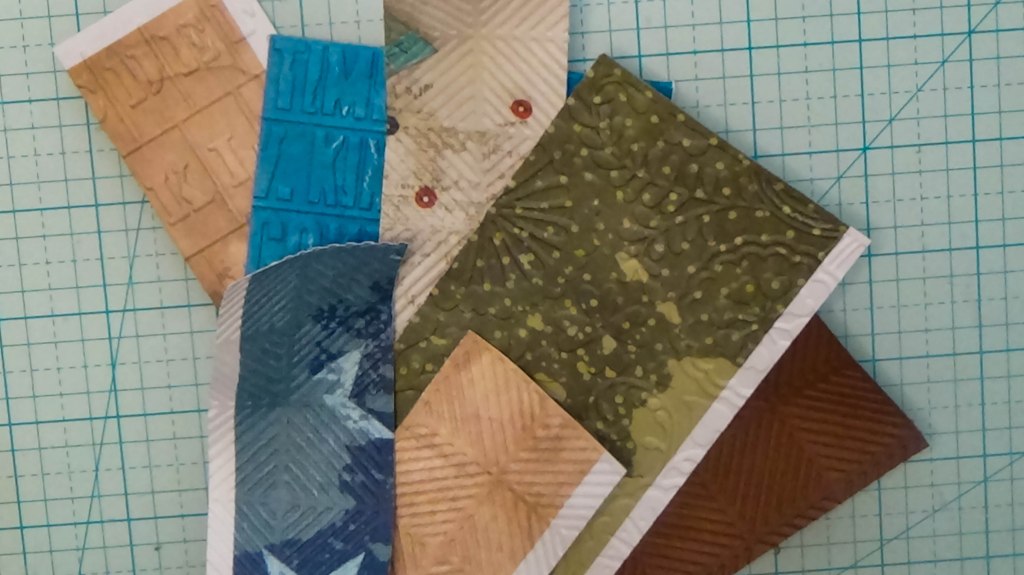
embossed papers 


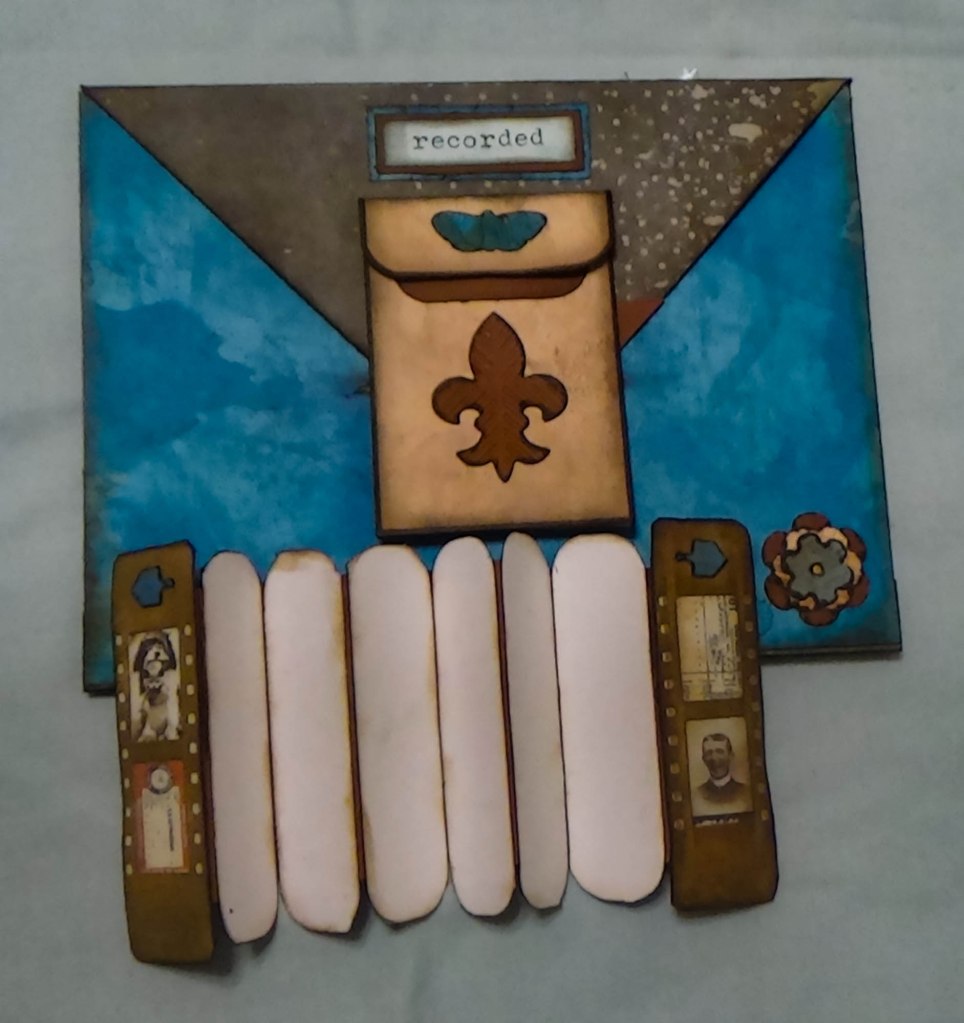
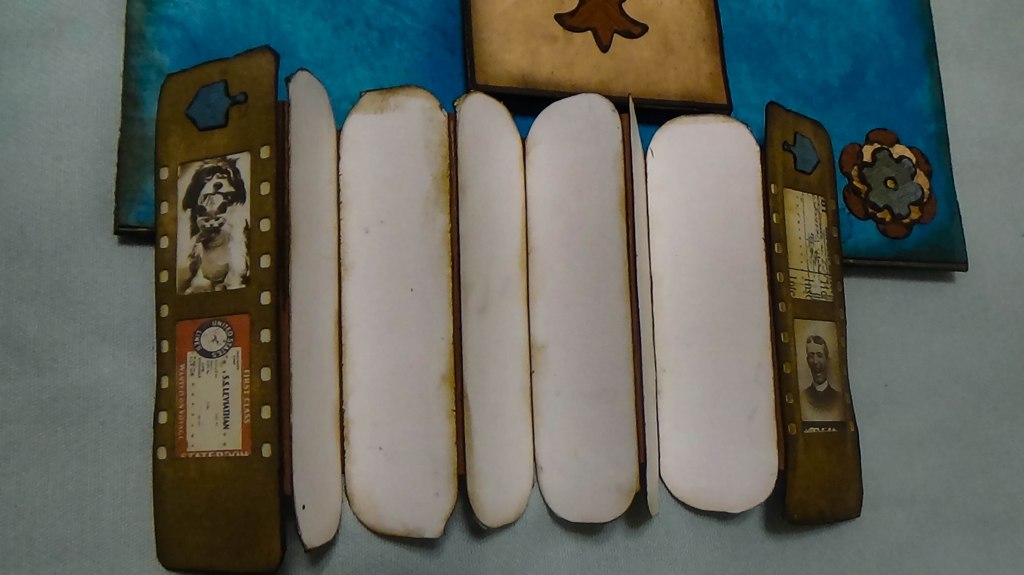

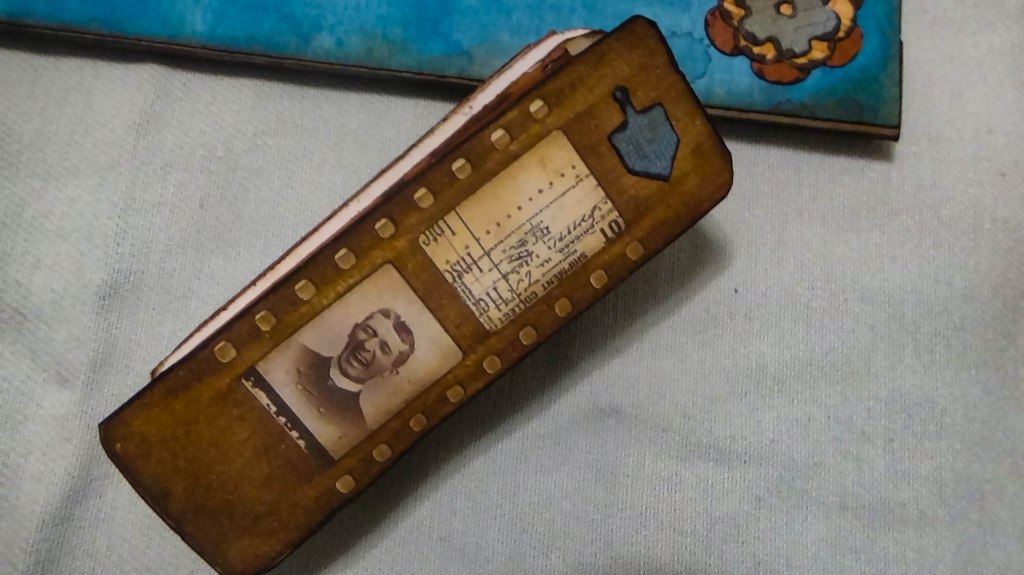


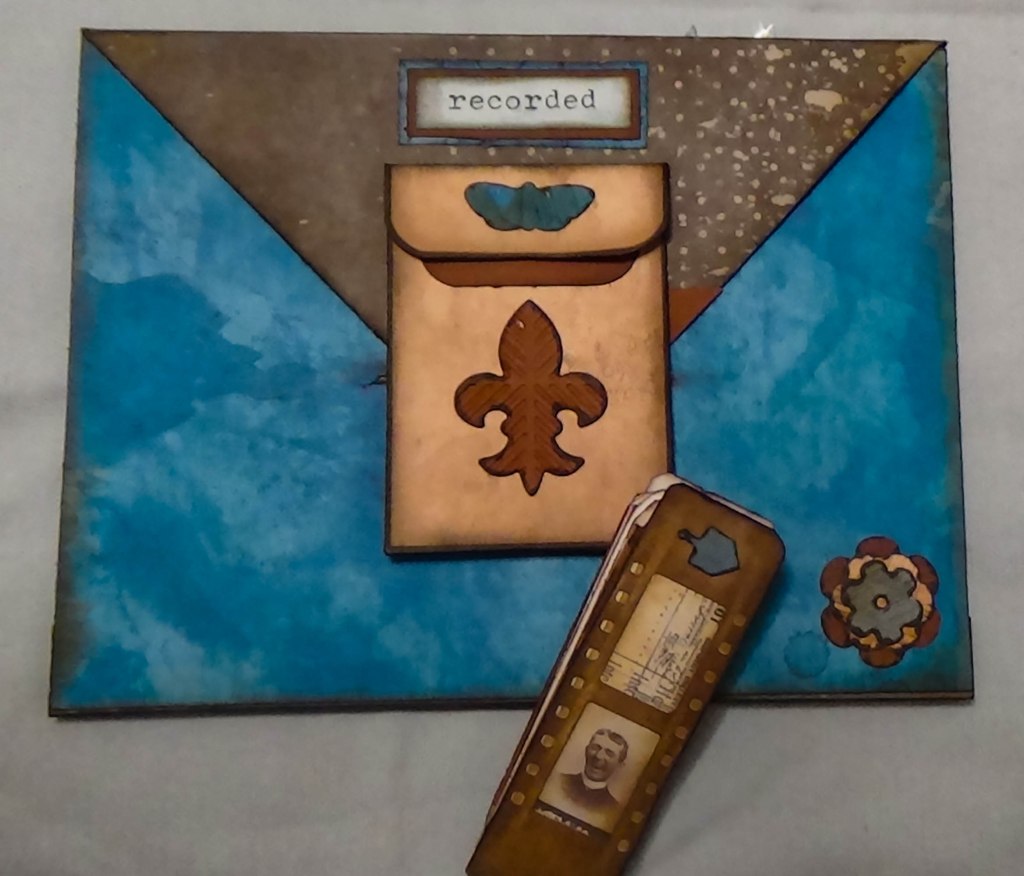


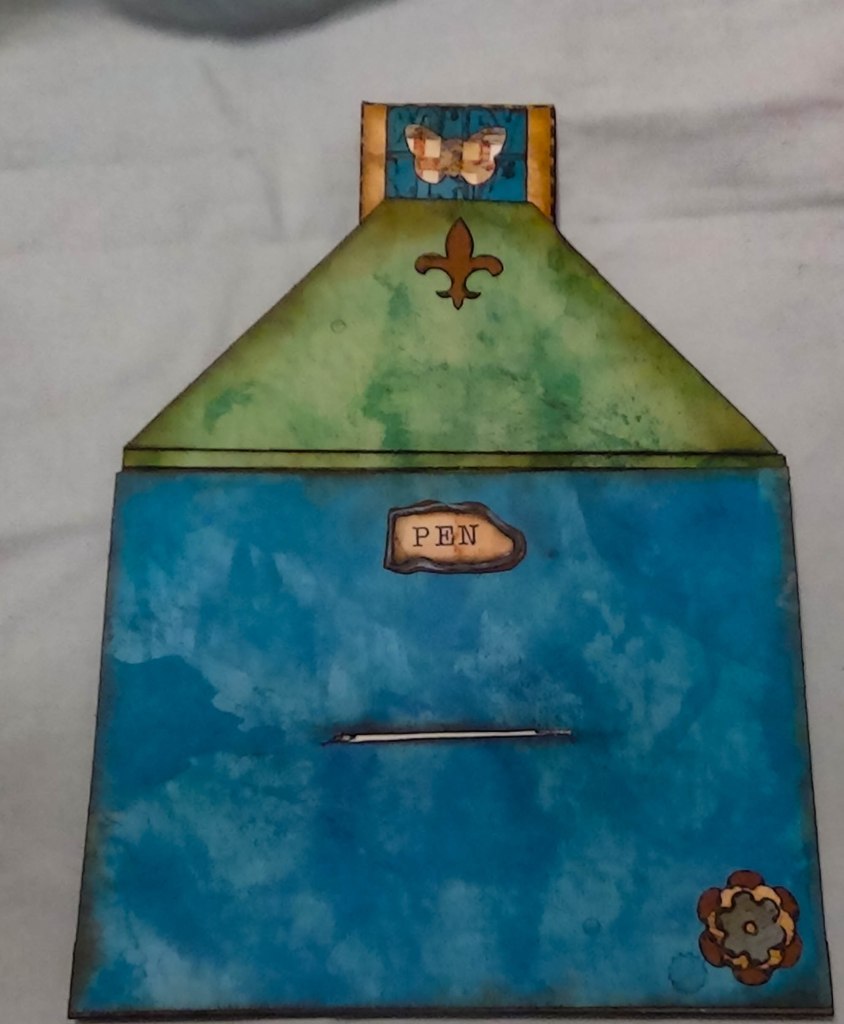


I added the die cut shapes and used the ,”Parcel Delay Label” and “Matchbook notebook toppers from Bohemian Crafting Patreon site to the folio creating decorative paper embellishments, along with a pocket on the back. I also included a few tags to garnish the finished project. This mini notebook will make a great piece of ephemera for a junk journal or scrapbook.
I hope that this topic was inspiring and will make you want to create your own. Thanks for checking this out.
Happy Crafting!
Disclaimer: Should you make a purchase from some of the links above I will receive a monetary percentage of the cost of your purchase(s). Thanks.

